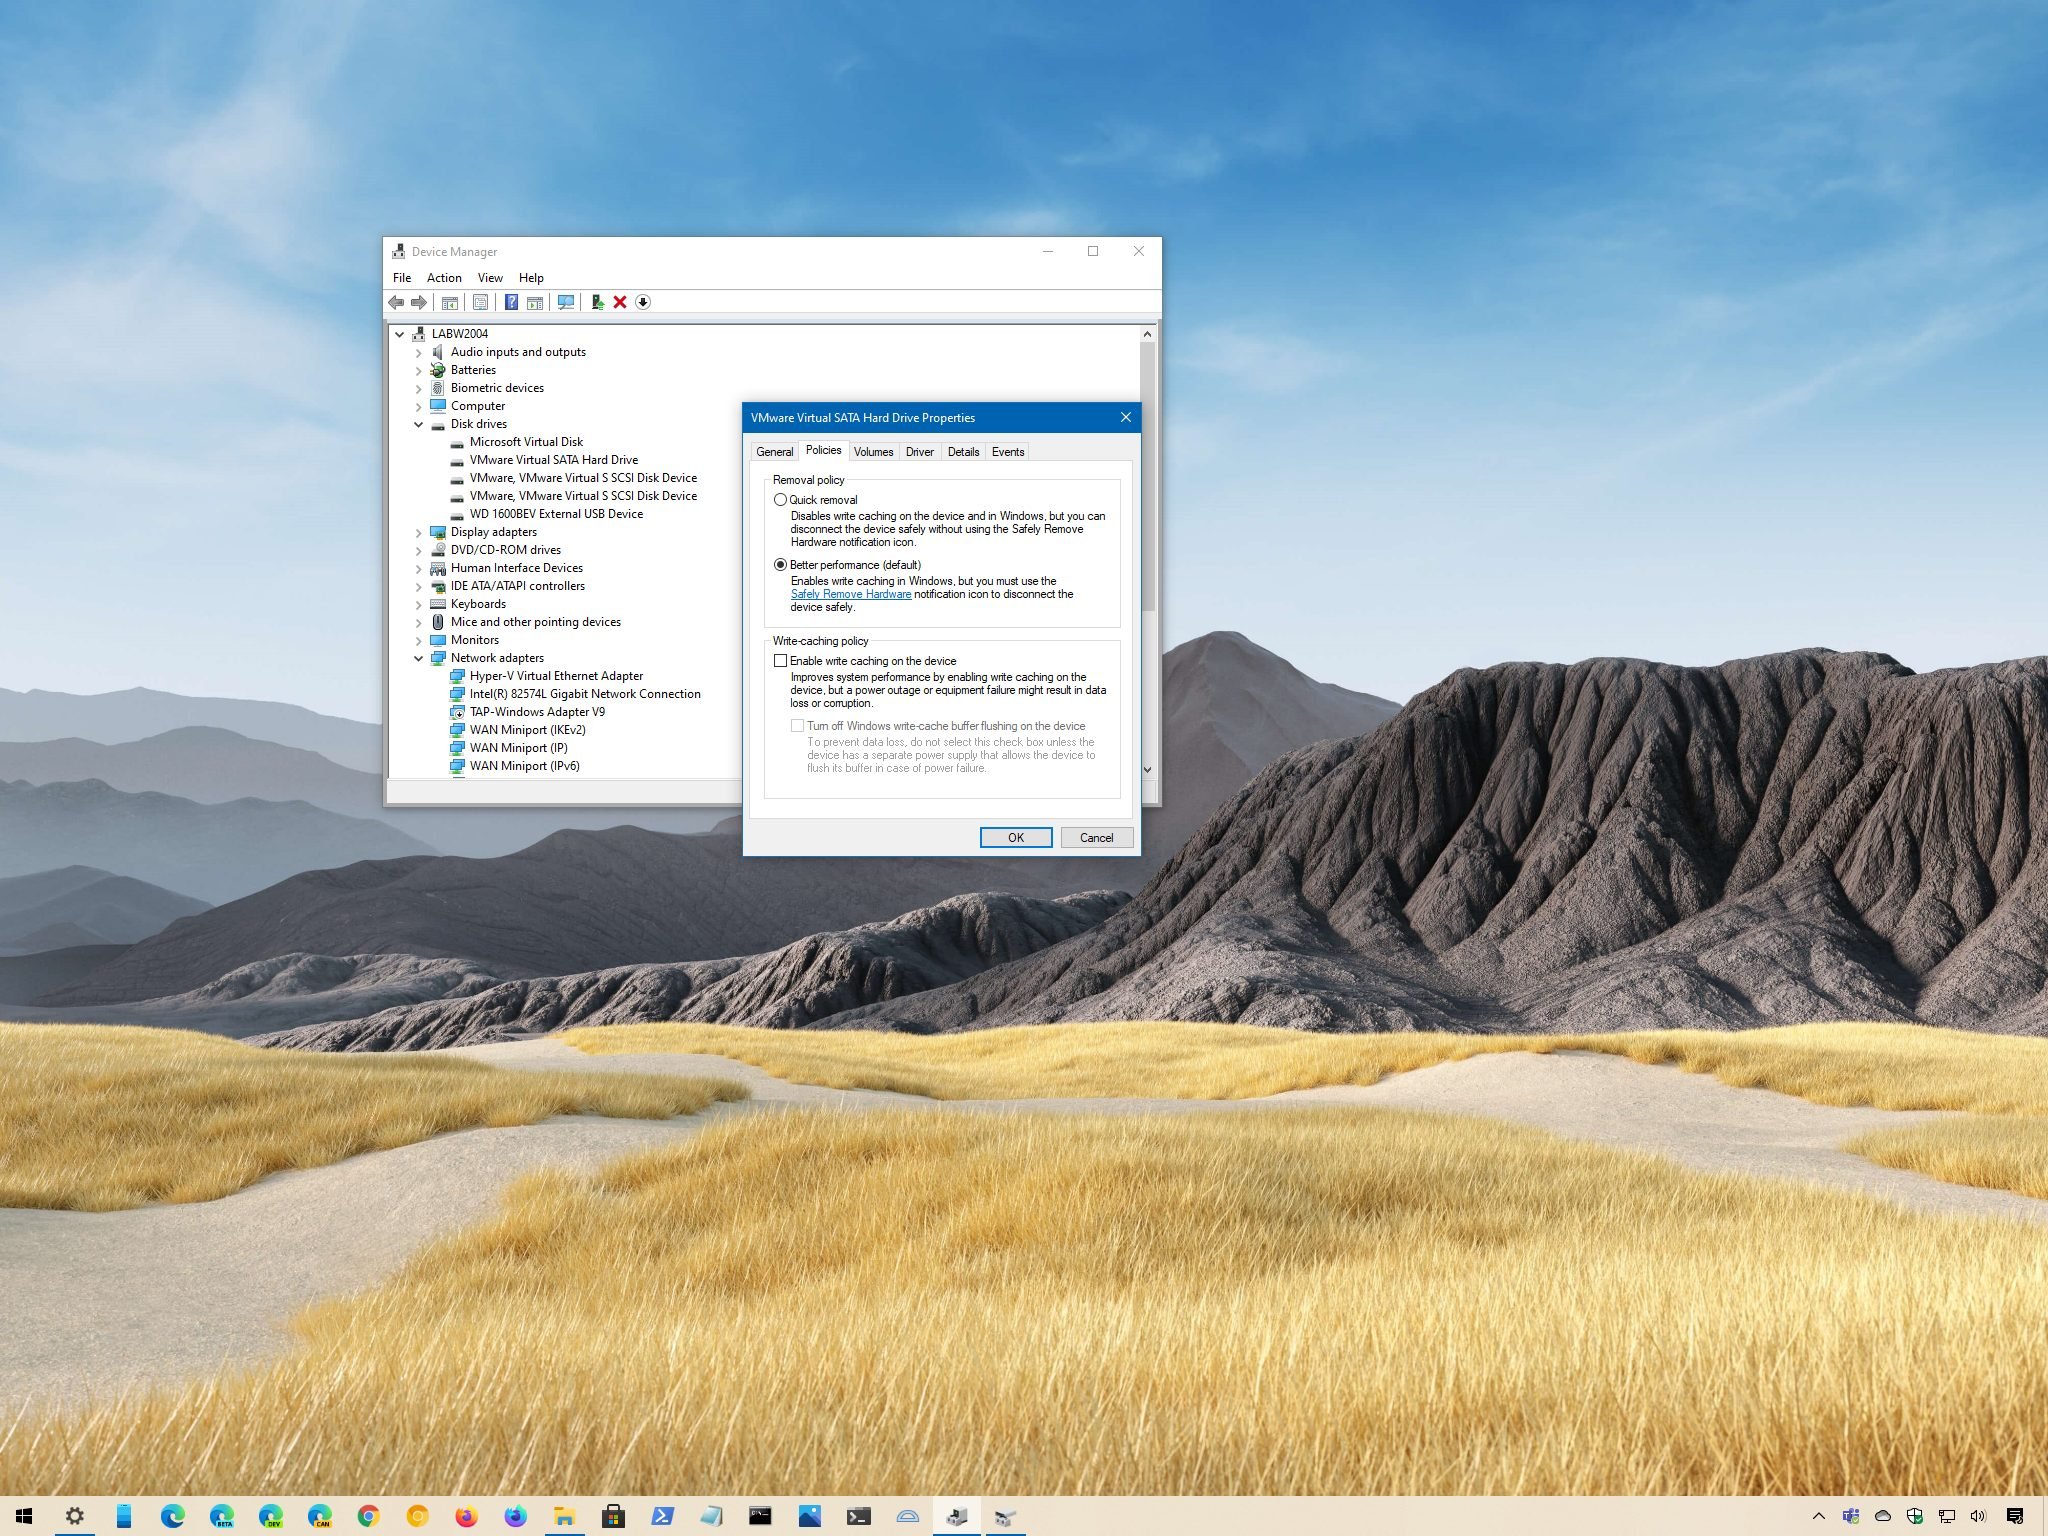
You can manage how disk write caching operates on Windows 10, and in this guide, we show you the steps to complete this task.
On Windows 10, disk write caching is a feature that uses the faster system memory to temporarily queue write commands until the storage device is ready to commit them to disk. This approach improves performance since the application doesn't have to wait for the drive to continue operating.
While it's a useful feature, the downside is that a system failure, power outage, or accidental removal can result in data loss or corruption. Also, some third-party applications do not support this feature, causing errors and other problems.
As a result, Windows 10 includes two different policies to manage storage devices, including "Quick removal" and "Better performance." Quick removal is the default setting for external storage, and it does not store any data in memory, making the storage always ready to be disconnected. This means that you can remove the drive skipping the Safely Remove Hardware option without the risk of losing data, but there's a performance trade-off.
The Better performance option is the default option for internal drives, and it's the option that enables the disk write caching feature to improve the overall performance of the drive. If the option is enabled, the system will queue temporary data in memory, and later the drive will automatically commit it to disk. However, to prevent data loss, you'll need to use the Safely Remove Hardware notification icon before disconnecting the external storage.
In this Windows 10 guide, we walk you through the steps to enable or disable the disk write caching policy for external drives.
How to enable disk write caching on Windows 10
To enable disk write caching on Windows 10 for external storage, use these steps:
- Open Start.
- Search for Device Manager and click the top result to open the app.
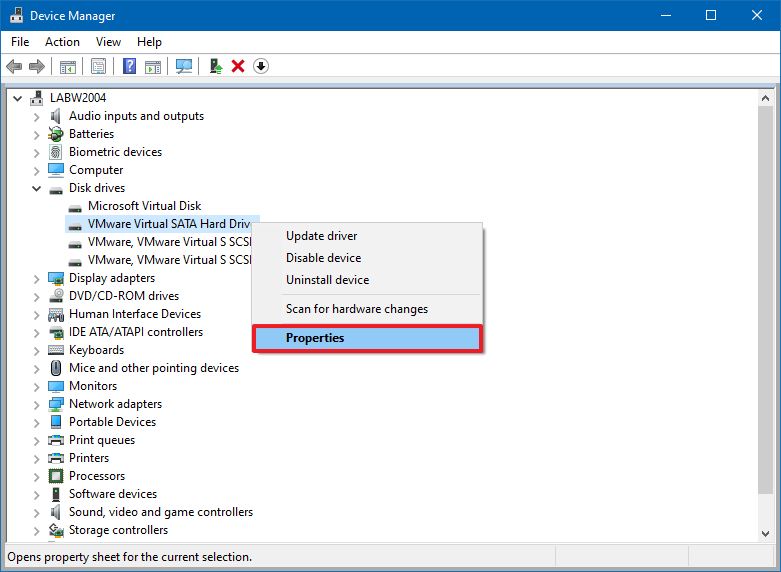
- Expand the Disk drives branch.
-
Right-click the drive you want to enable the feature and select the Properties option.
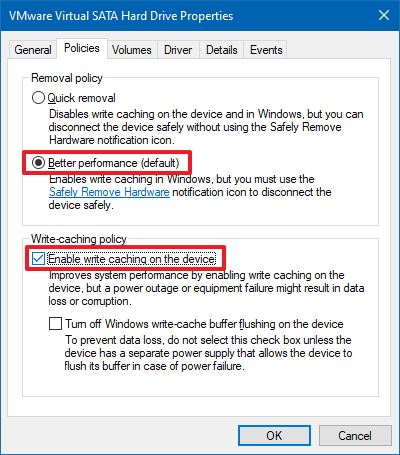
- Click the Policies tab.
- Under the "Removal policy" section, select the Better performance option.
-
Under the "Write-caching policy" section, check the Enable write caching on the device option.
Quick note: This feature is not supported on every device, so if the option isn't available or you get an error, you will not be able to turn on the feature.
-
(Optional) Check the Turn off Windows write-cache buffer flushing on the device option.
Quick tip: This option can cause data loss in the event of power failure. If the drive doesn't have a separate power supply to allow the device to flush the buffer in case of a power issue, it's not recommended to enable this option.
- Click the OK button.
- Click the Yes button to restart the device (if prompted).
Once you complete these steps, during drive activity, write commands will be stored inside the system memory until the storage can write them onto disk, increasing system performance. However, in the event of hardware or system failure, or power outage, data loss or corruption may occur.
If you decide to use this option, it's highly recommended to use the Safely Remove Hardware process to prevent possible data loss on the drive by clicking the device icon in the notification area and selecting the Eject option.
How to disable disk write caching on Windows 10
To disable disk write caching on your device, use these steps:
- Open Start.
- Search for Device Manager and click the top result to open the app.
- Expand the Disk drives branch.
-
Right-click the drive you want to disable the feature and select the Properties option.
- Click the Policies tab.
-
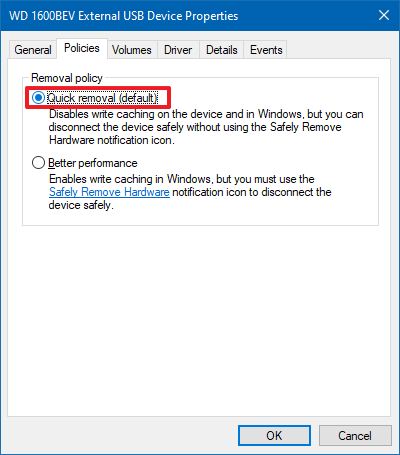
Under the "Removal policy" section, select the Quick removal option.
- Click the OK button.
- Click the Yes button to restart the device (if prompted).
After you complete the steps, the drive won't use the system memory as a buffer to store data, decreasing the storage performance. However, the drive will always be ready to be disconnected, minimizing the chances of data loss.
More Windows 10 resources
For more helpful articles, coverage, and answers to common questions about Windows 10, visit the following resources:
via https://AiUpNow.com December 3, 2020 at 07:01AM by Mauro Huculak, Khareem Sudlow,


