Digital art has become increasingly accessible, but there's still a lot to know about creating your own digital masterpieces.
Getting started with digital art can be intimidating due to the wide variety of drawing devices and software to take into consideration before you can even open your first blank canvas. Narrowing down some of the basics of the type of art you want to create can help you get a foothold with deciding what hardware and software you will need to create it.
What is digital art and why would you want to create it?
Digital art is a catch-all term for the creation or manipulation of artistic media via technology. This can include everything from pixel art to photo manipulations to 3D digital sculpting. Some of the earliest examples of digital art were created by John Whitney in the 1960s using good old-fashioned math to animate simple computer-generated images of pixelated shapes and spirals.
The medium has come a long way since Whitney's pixel spirals, though. A traditional watercolorist can scan a painting done with paint and paper into photo editing software to easily and effectively change the entire painting digitally. Digital art allows for the use of tools to clean up mistakes and correct colors while maintaining the integrity of the original in ways traditional media just doesn't make possible.
Not only does digital art offer the freedom to edit and share traditional work, but it also opens the doors to creating artworks that simply would not be possible with traditional mediums. With digital art the limits of traditional mediums are removed, and you can easily mix painting techniques or try new color schemes with just a couple of mouse clicks rather than repainting an entire area.
While digital art can be an investment when just starting out, it does have the long-term benefit of eliminating the fear of wasting materials. Professional painting and sculpting materials can be expensive recurring costs, and the fear of wasting those materials on a failed project can be paralyzing for some artists. With digital art that fear can be eliminated, as there's no additional cost beyond the initial investment. If a painting isn't going the way you want, you can hide a bad layer and create a new one, or scrap the canvas and start another without paying a dime.
Even for traditional artists, digital art can be a helpful part of your workflow. It can be freeing to practice and experiment without incurring costs for waste if you aren't satisfied with the final piece.
What kind of hardware do you need for digital art?
The type of digital painting you can do is going to be at the mercy of the limitations of your hardware. It's entirely possible to illustrate using something like a mobile device or a budget-friendly laptop, but doing so may mean that you're forced into working with smaller canvases. This can be perfectly fine if you're looking to create work that will be viewed primarily online at low resolutions via social media or printed for smaller real-world applications like stickers. Even a standard budget laptop can get the job done as long as it meets the minimum system specs for your preferred creative software.
If you're hoping to work with larger digital canvases at higher resolutions such as what you would need for large prints, however, you're going to want to consider a more workstation-oriented computer build or a higher end laptop. Regardless of whether you are custom-building your computer or shopping for a pre-built, you may want to consider funneling more of your budget into your graphics card and SSDs for storage.
Contrary to what one might think, most digital art software does not put a heavy strain on your CPU, but rather will rely on RAM and VRAM for rendering your strokes and mark-making effects. If your computer runs low on RAM or VRAM, digital art software will utilize a high speed SSD to help offload some of that demand. At the very least, you're going to want to have at least 8GB of RAM.
Choosing your accessories for digital art
Once you've squared away what type of computer or laptop you're going to be using to create with, you can start looking for a graphics tablet. Graphics tablets come in a wide variety of shapes, sizes, and styles. Though they do tend to fall into two specific categories — pen tablets and pen displays.
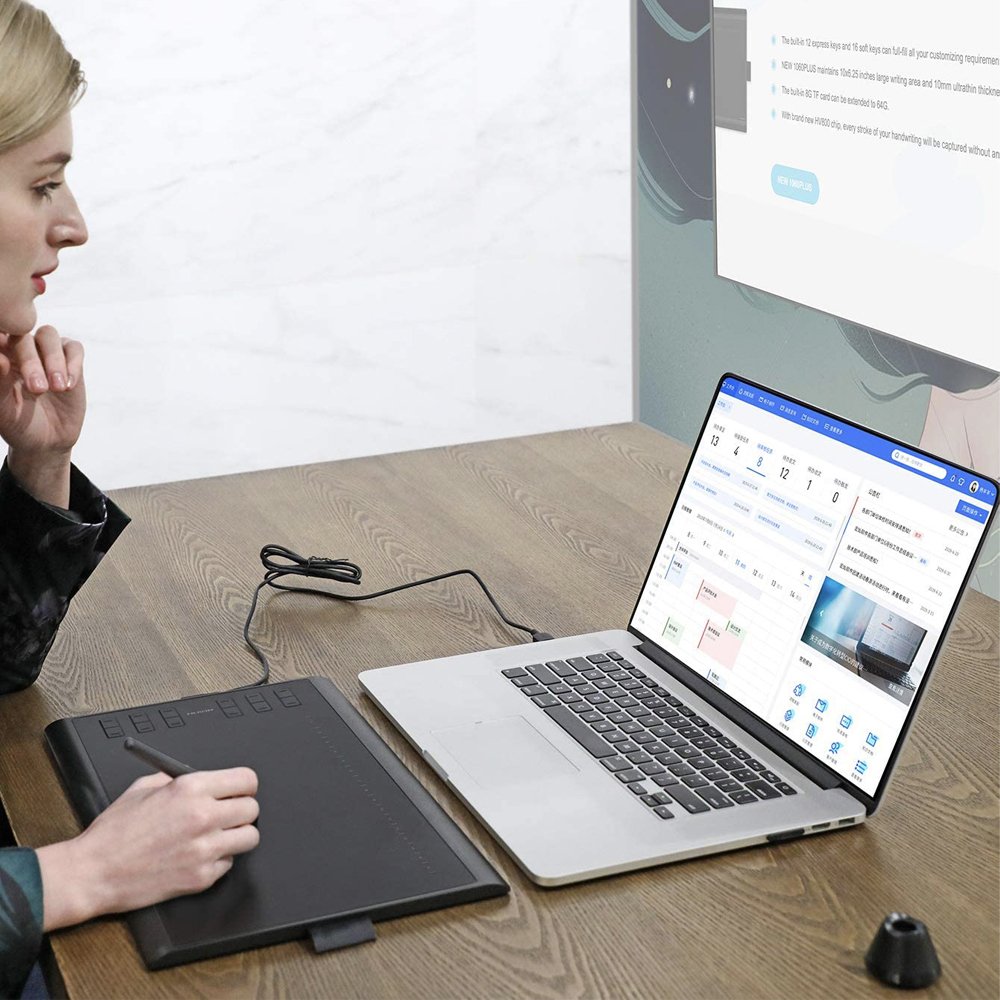
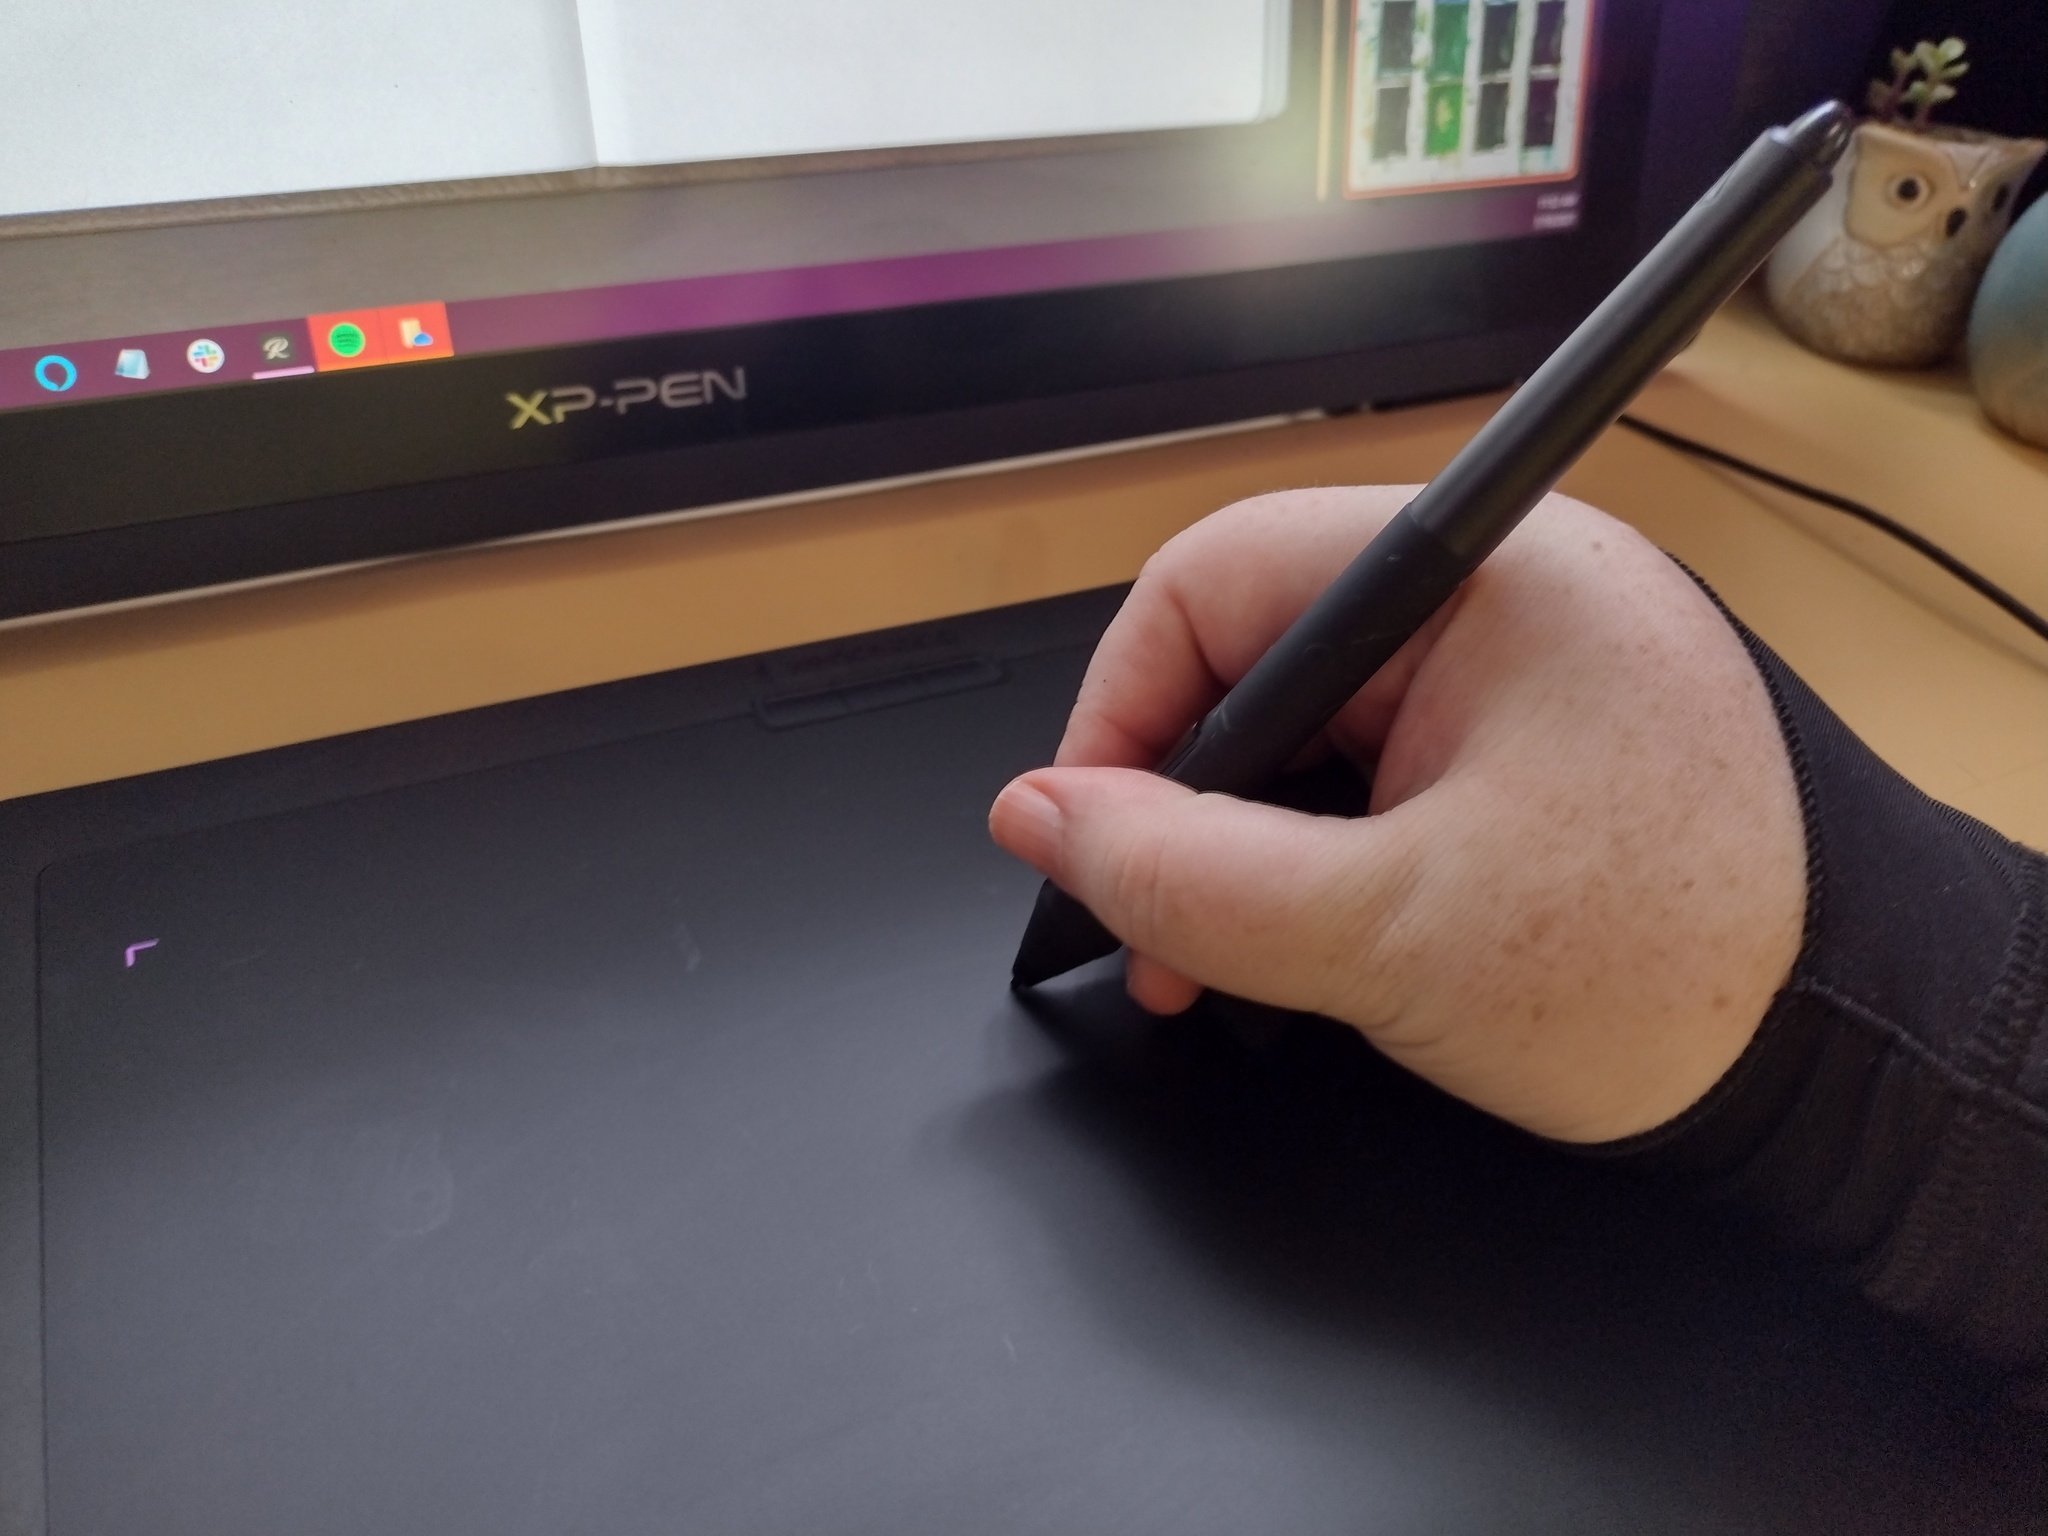
Pen tablets are a two-part input device consisting of a digitizer tablet and a pen-shaped stylus. They connect to a computer, laptop, or mobile device via USB or in some cases via Bluetooth. The stylus can be either battery operated or battery free and will consist of a pen nib that reacts to the amount of pressure you bear down on it. Depending on the brand, a stylus may have additional buttons that can be customized for different functions like right-clicking or swapping between the pen and eraser brushes in your software.
The digitizer itself can come in a variety of sizes, but the noticeable difference with these standard pen tablets is that they do not have a display built into the digitizer. They require a bit of practice and hand-eye coordination, as you'll need to look at a separate monitor rather than your hand to see where your marks are landing in your image. In addition to the drawing area of the digitizer, there may be additional customizable express keys that can help streamline your workflow.
It can be freeing to practice and experiment without incurring costs for waste if you aren't satisfied with the final piece.
If you are opting for a pen tablet without a display, you should consider the type of monitor that you will be using with your device. Even if you're using a laptop, you may want to consider an additional monitor to connect to your device because the screens on laptops are smaller. A 27-inch display is often considered the "sweet spot" for digital art, but that is of course subjective to personal preference.
What is not subjective, however, is a monitor's color space. Color space is the range of colors detectable by the human eye that the monitor can display. Industry standard for color space is Adobe RGB as it provides a more accurate visual representation of colors as they will be printed. Another acceptable standard is sRGB, which is typically a more ideal color space standard if you're creating for online sharing as opposed to prints. Most modern monitors offer 98% Adobe RGB color spaces or 120% sRGB color spaces.
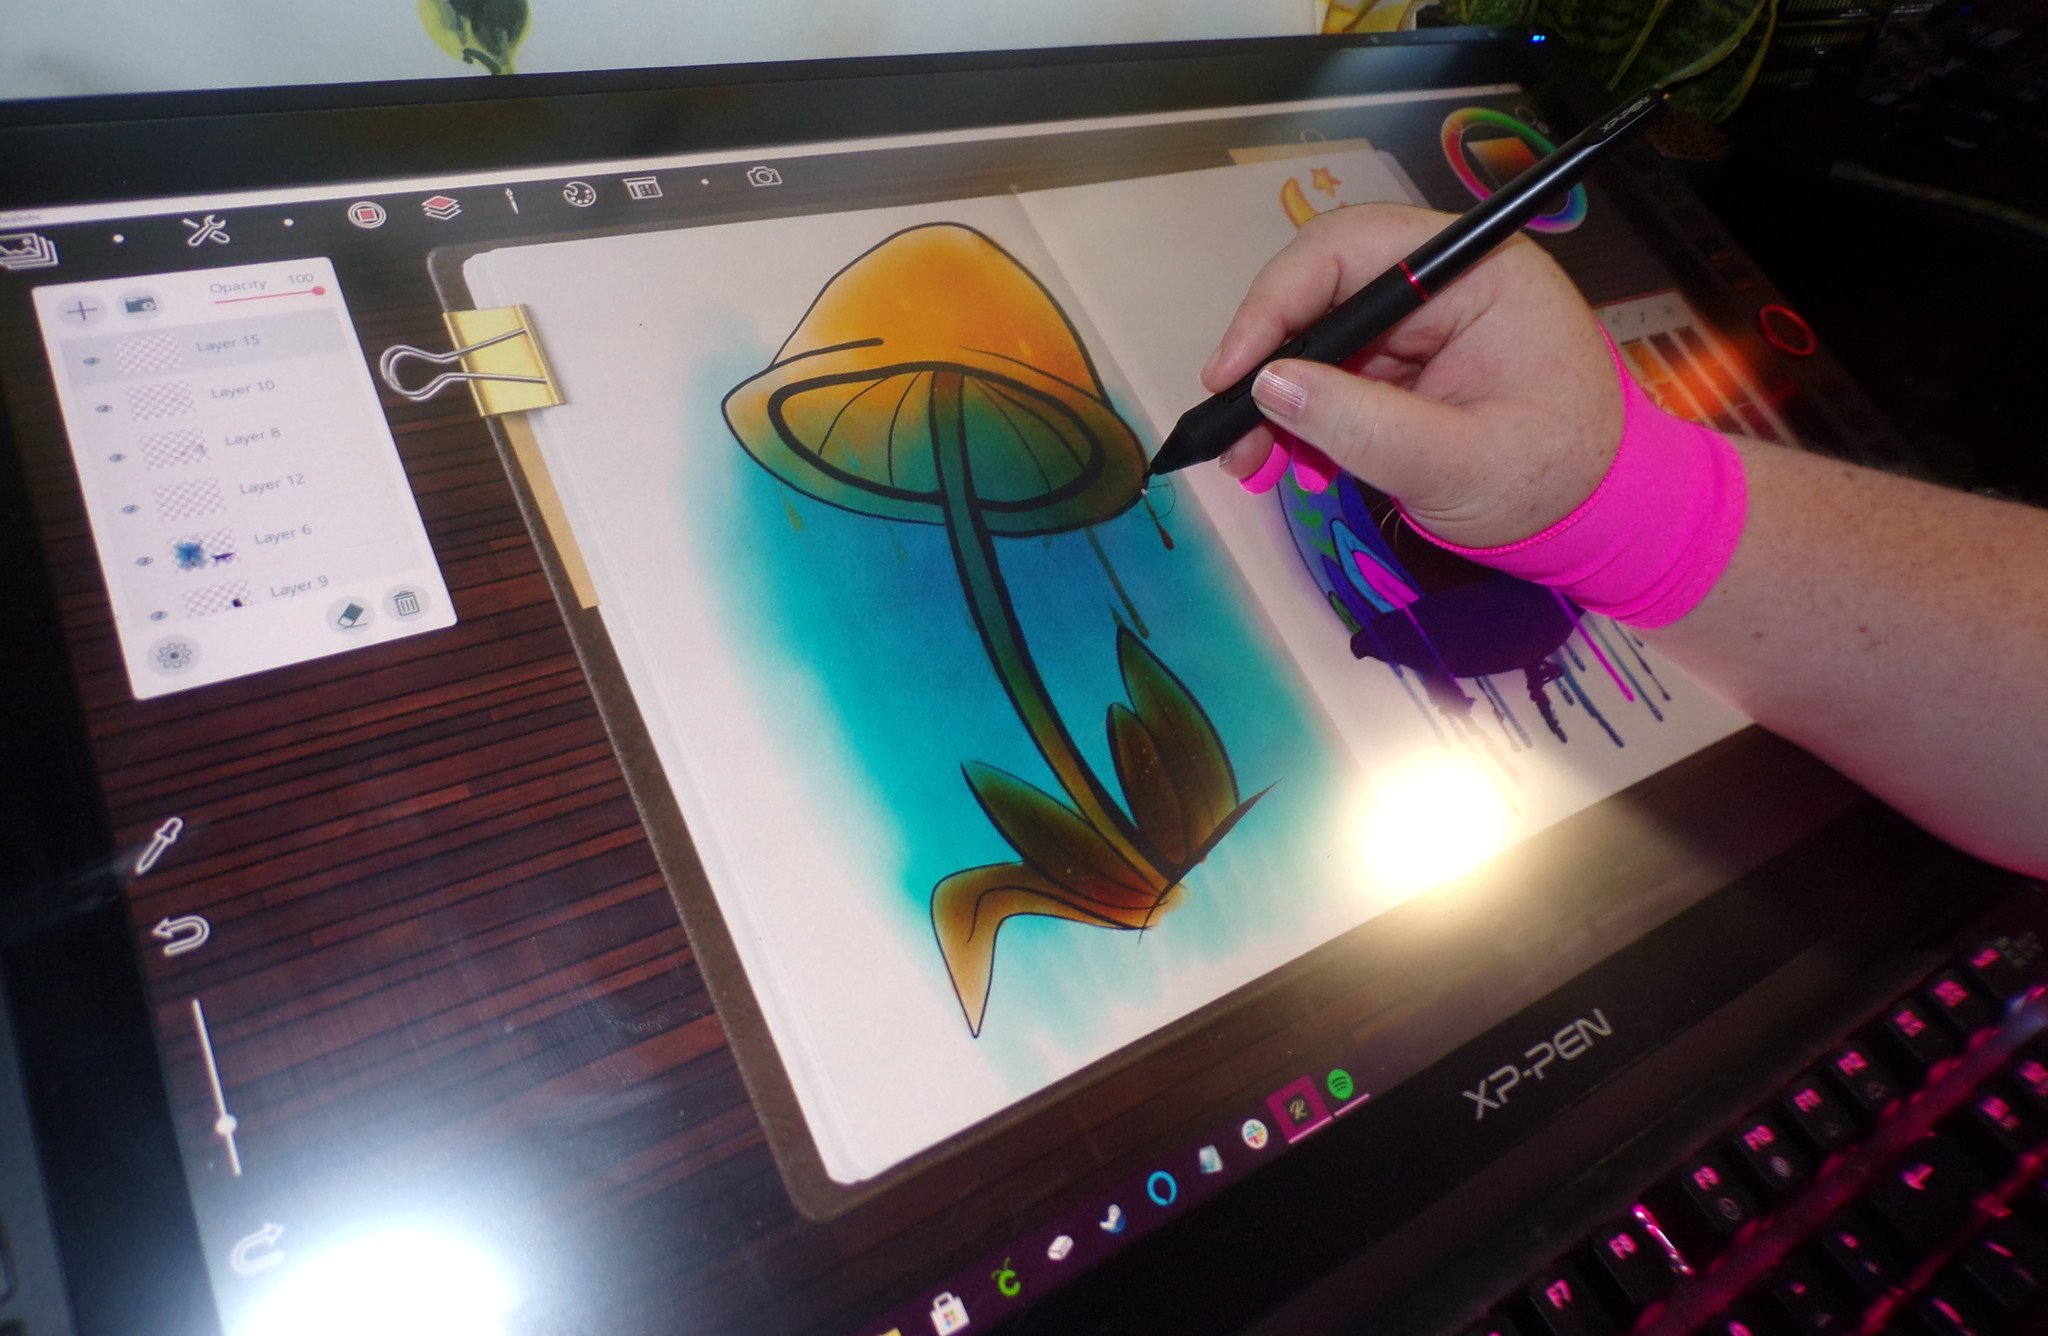
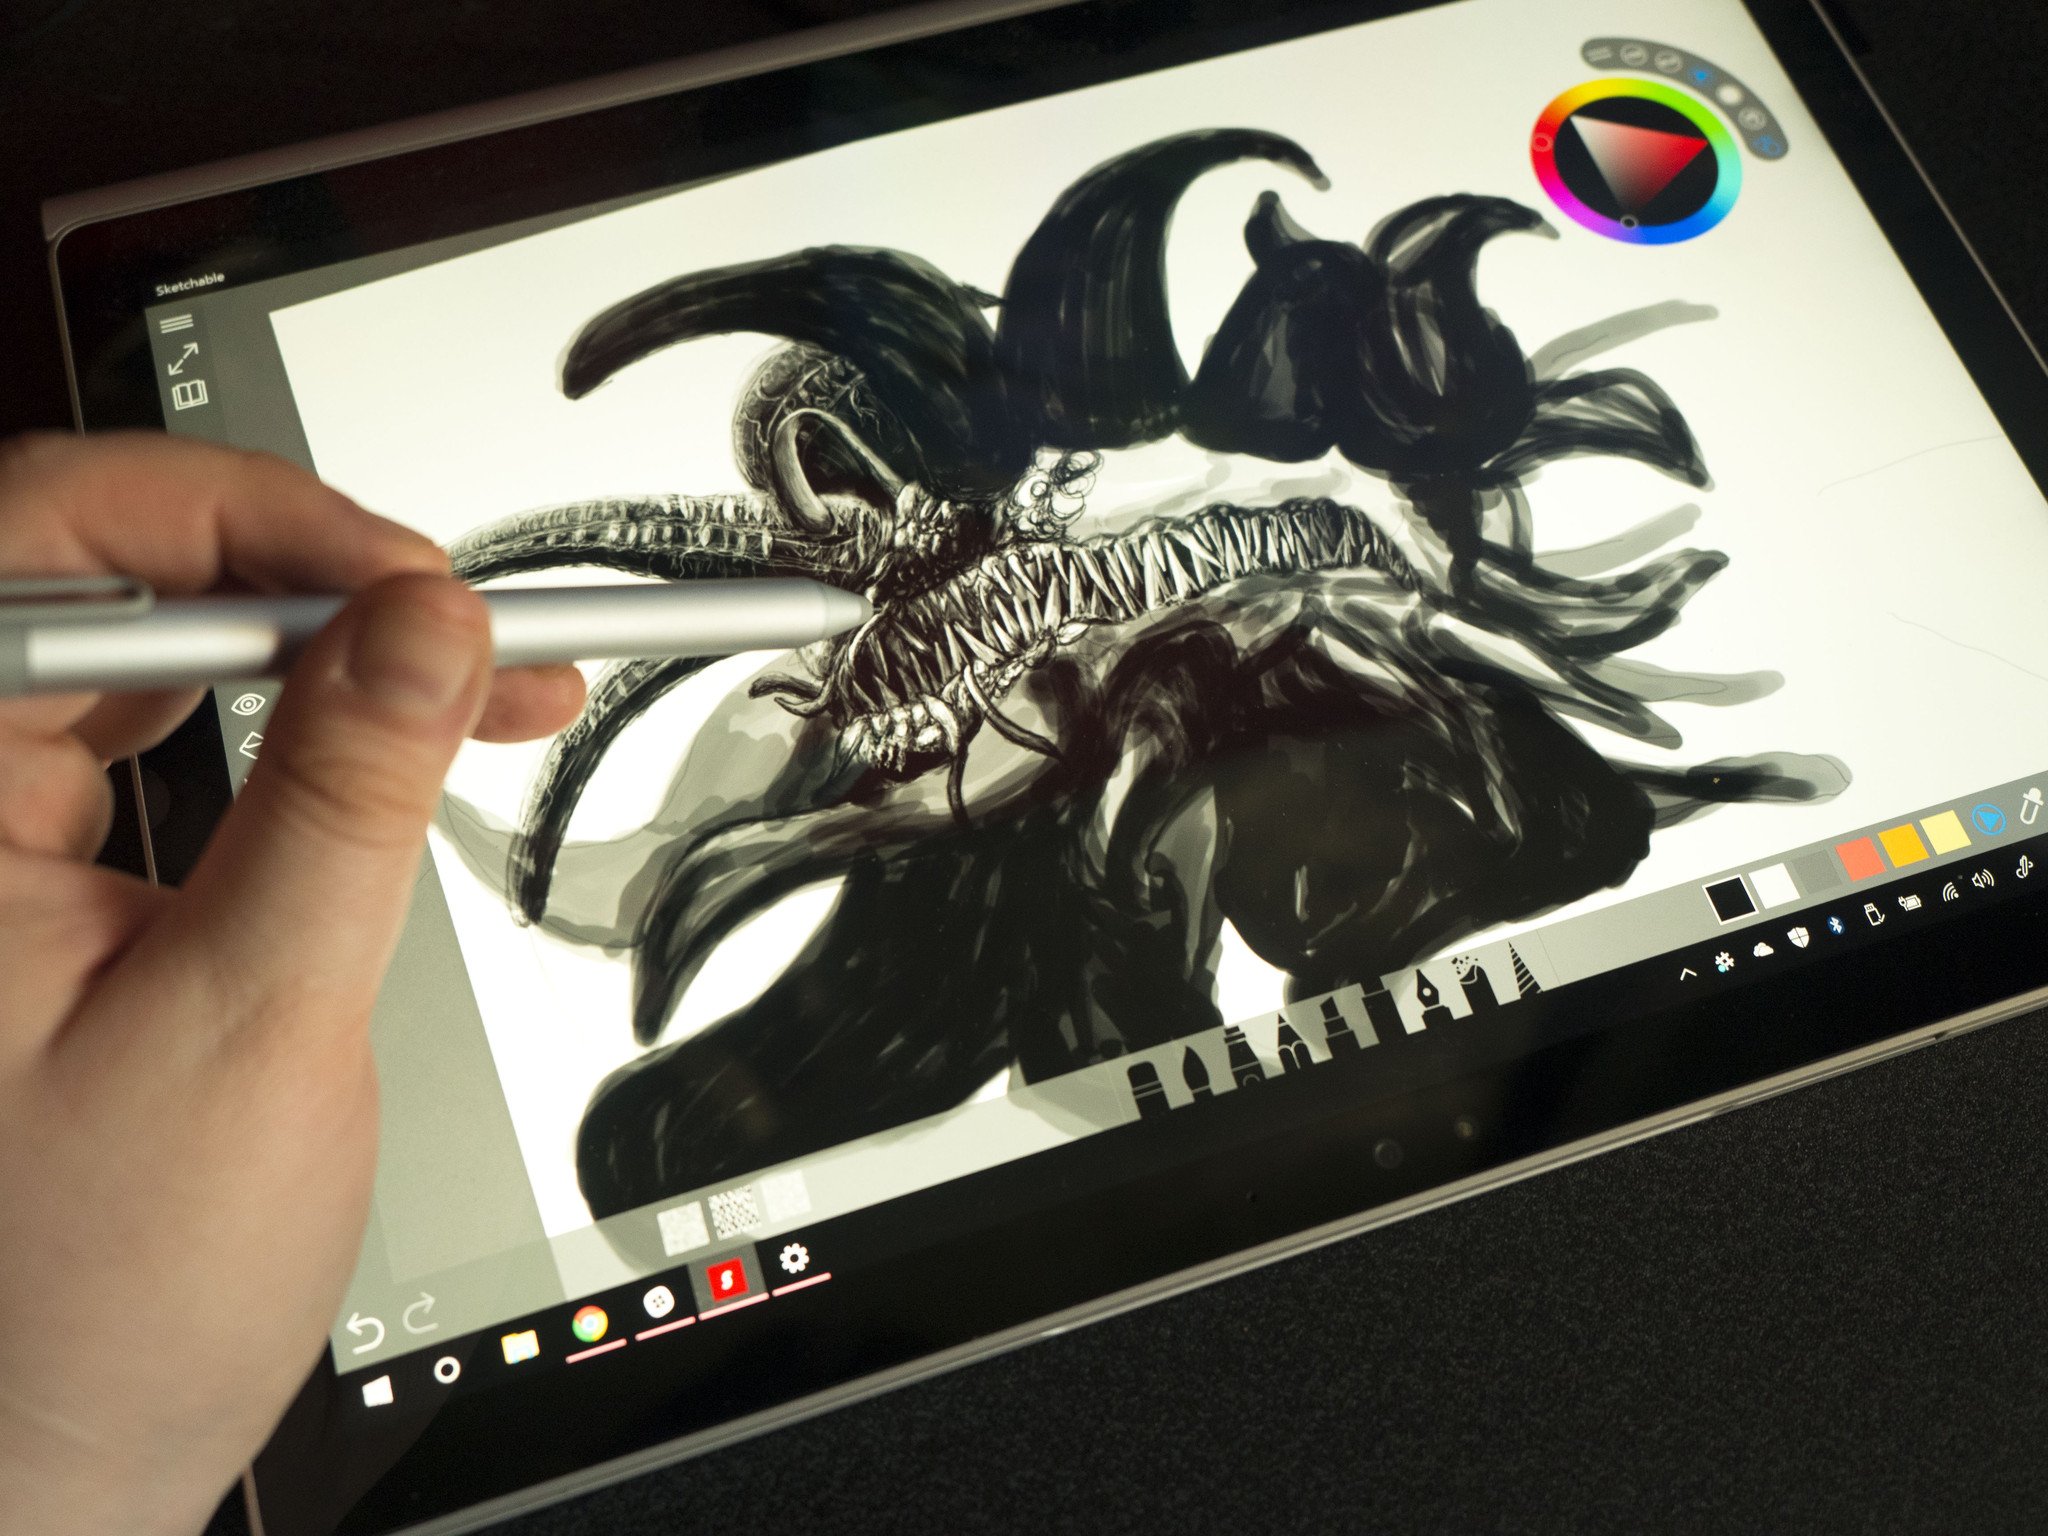
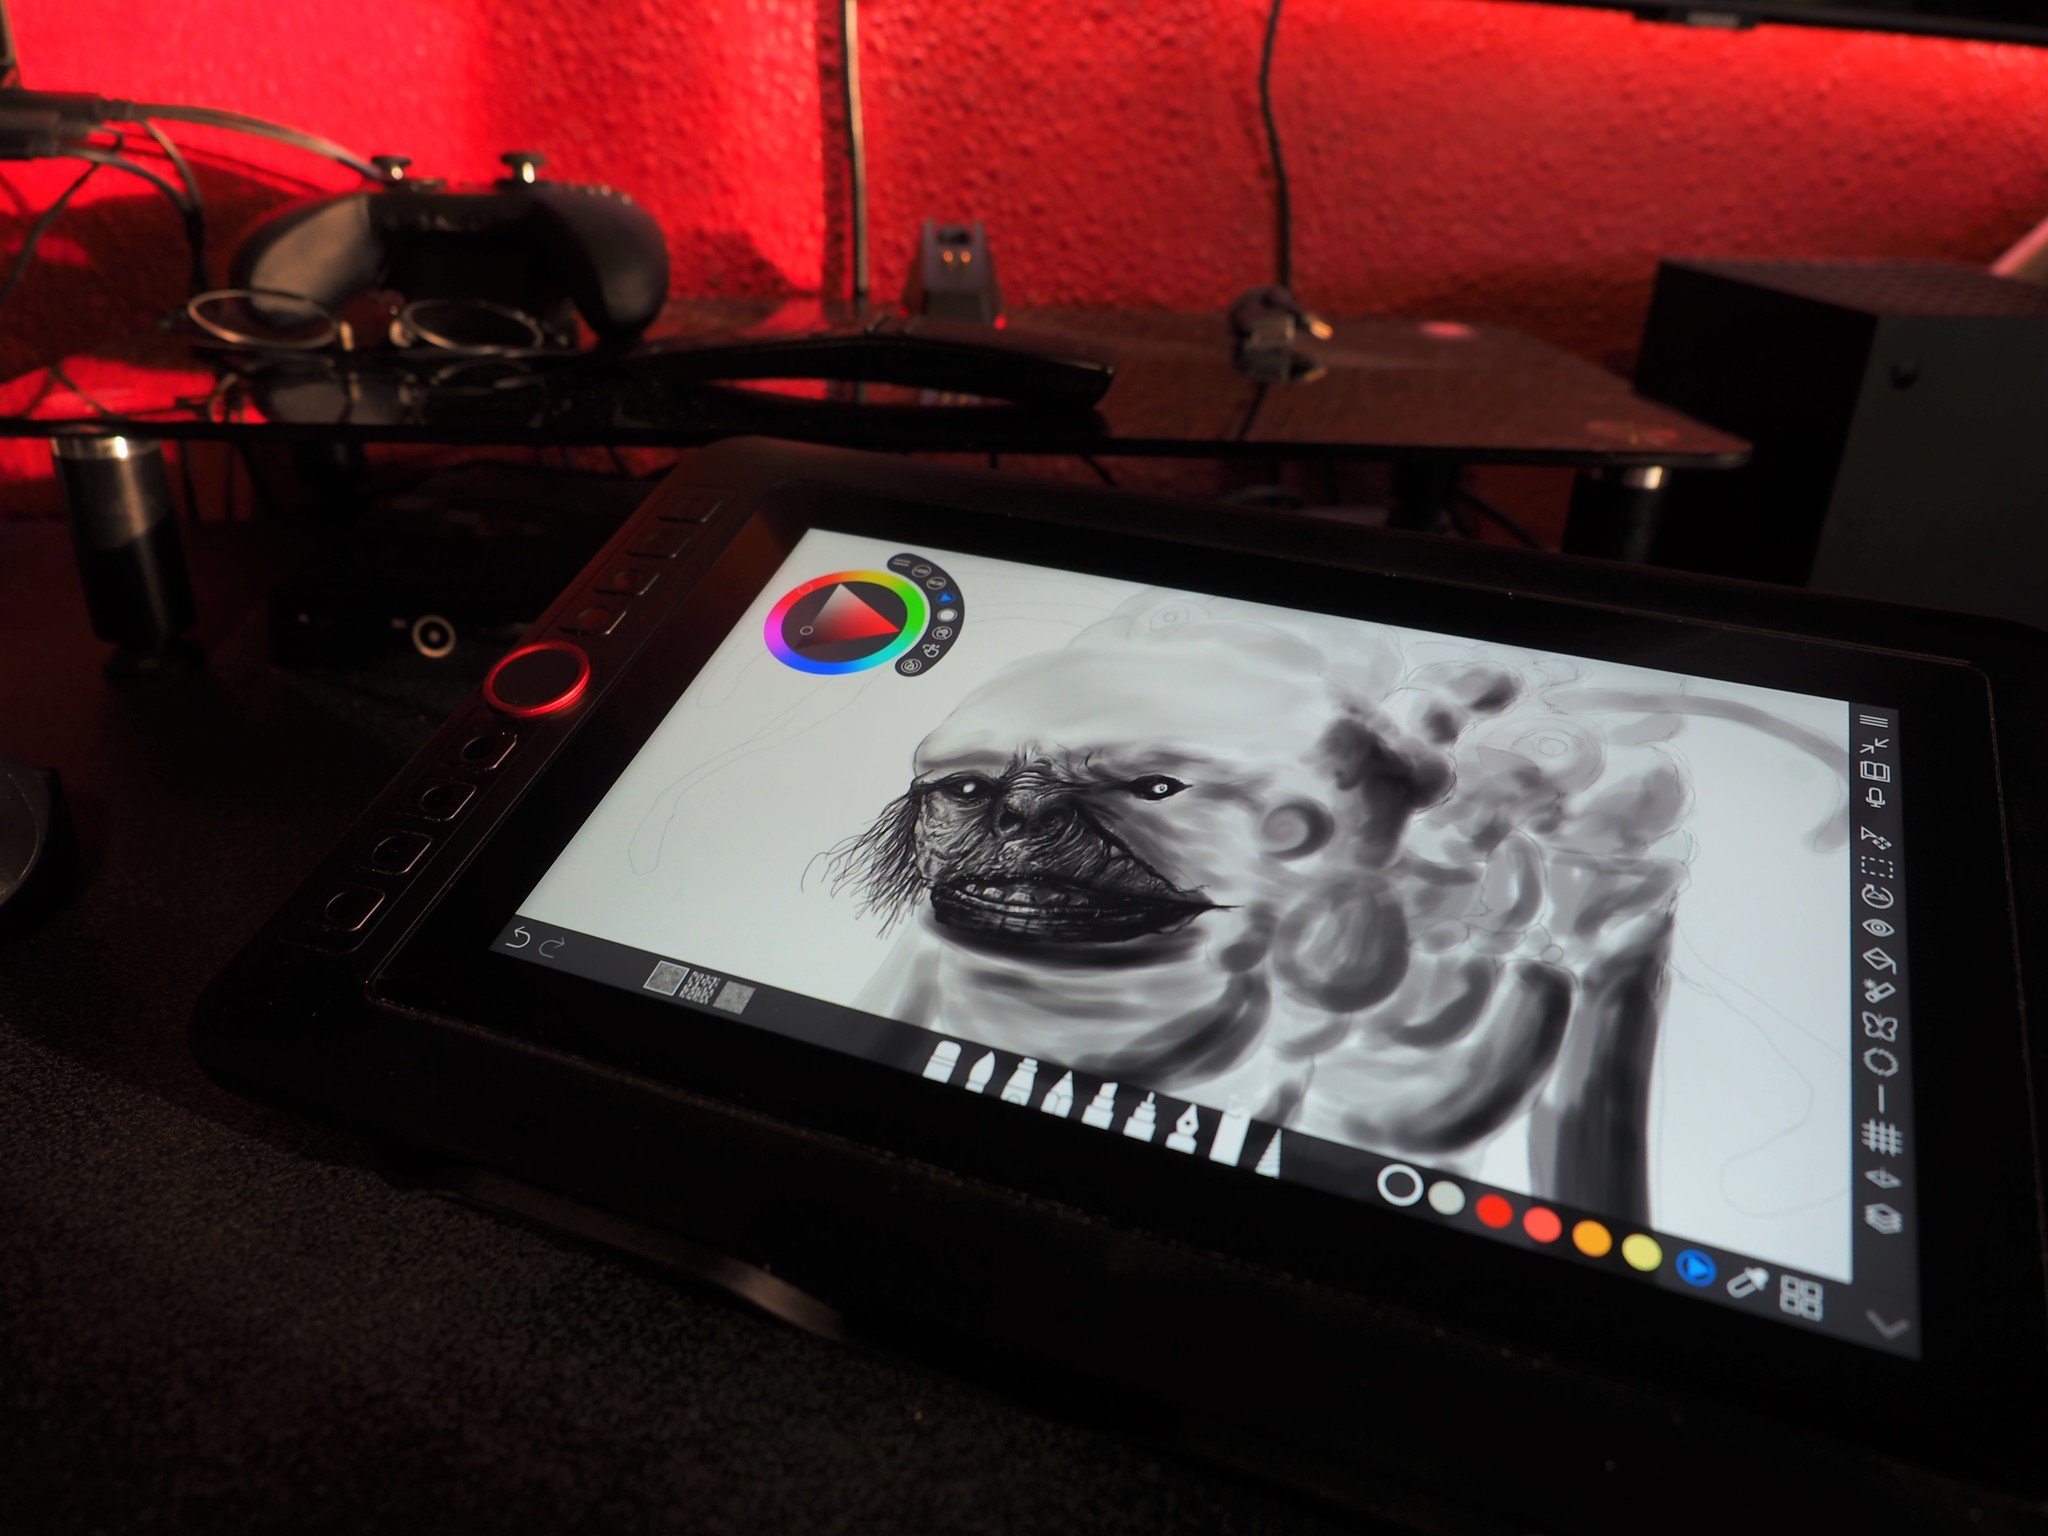
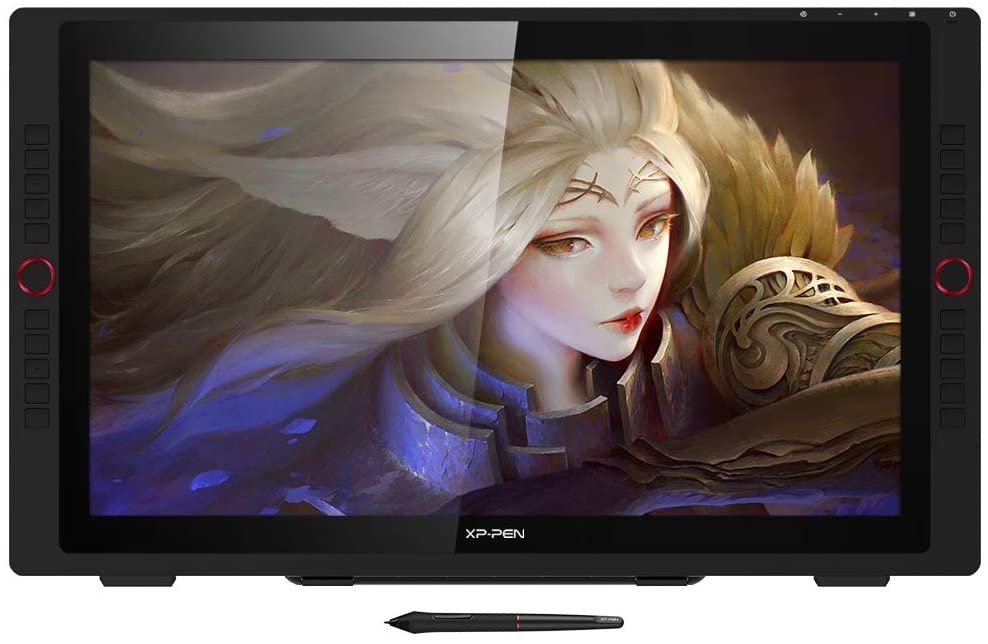
Pen displays, on the other hand, work similarly to pen tablets but with one major change. The digitizer itself is built into a monitor, allowing the artist to draw directly on the display with the stylus. Just a few years ago artists were limited in their choices for pen displays, however. Wacom held a near monopoly on the product, and the big, clunky drawing monitors were cumbersome and cost prohibitive. In recent years, though, there has been an increase in competition from companies like XP-Pen and Huion. Technology has allowed for thinner pen displays in a wider variety of sizes that are better suited for different price points, lowering the cost prohibition bar for entry.
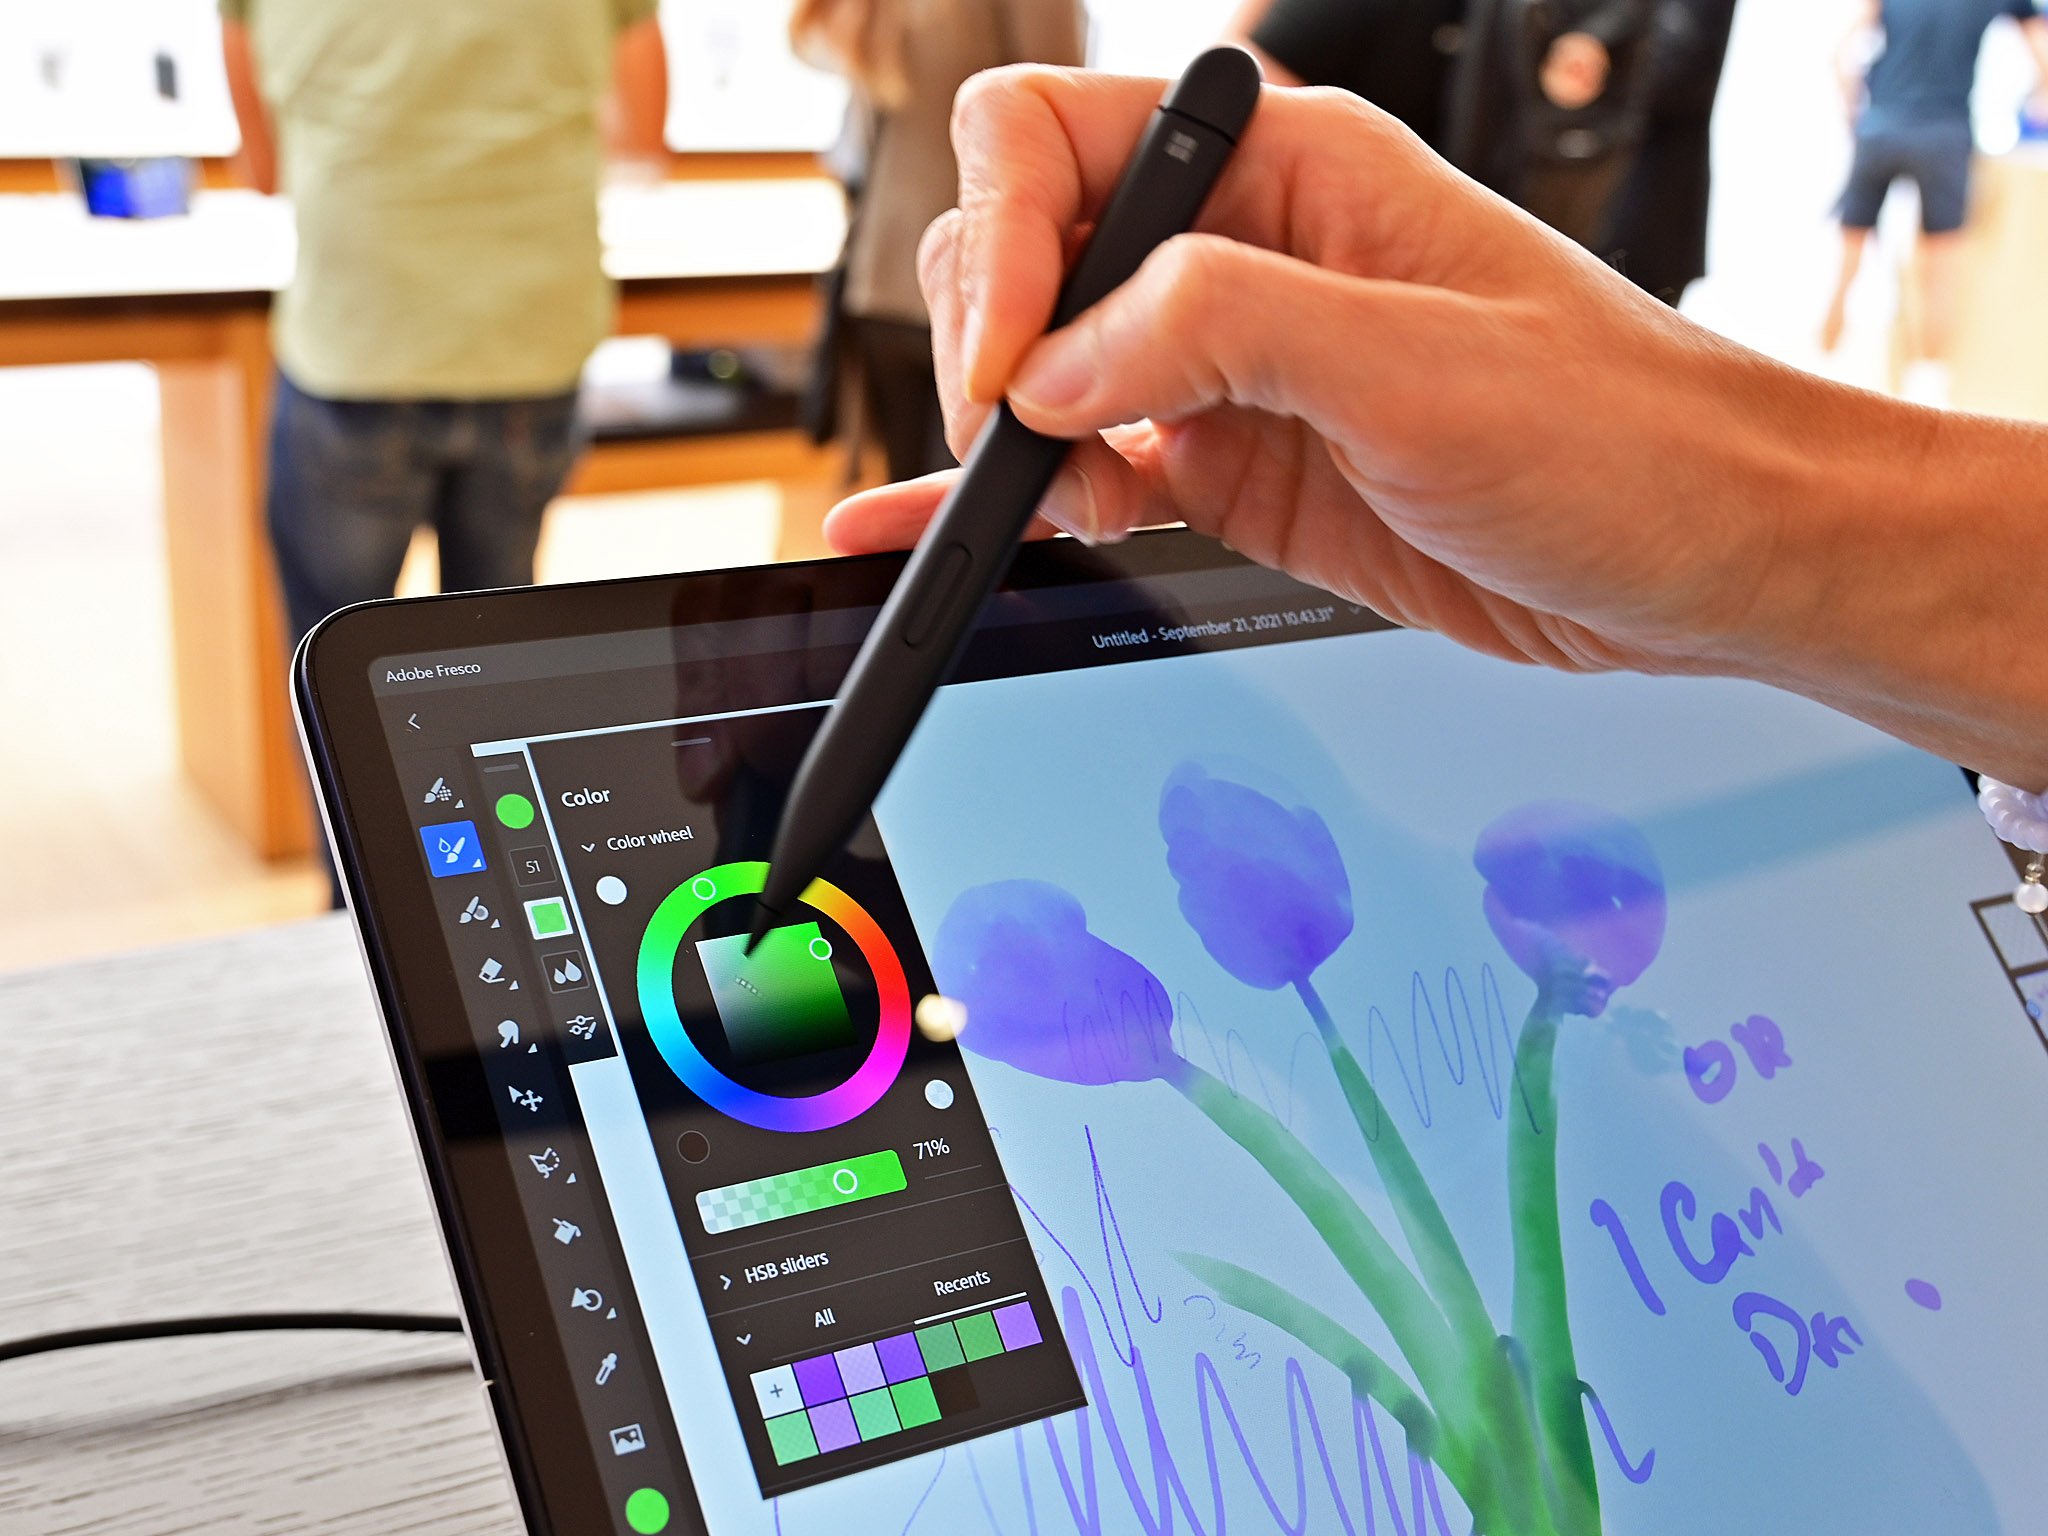
If you've opted to use a two-in-one laptop or a mobile device with a touch screen, you can get away with just picking up a standalone stylus. It is important to note that not all styli are created equal, however. For digital art, you're certainly going to want to look for an active stylus that has pressure support at the very least. We have a handy list to help you choose the best stylus for whatever you want to create.
Choosing software for digital art
You've got your computer and your new graphics tablet, but you're still not quite ready to put pen to tablet and create. You're going to need a drawing app that's suited to the type of work you want to do. While most people will immediately be drawn toward Adobe's Creative Cloud programs, I would argue it's worth your while to consider alternative drawing apps that may be less expensive if not completely free.
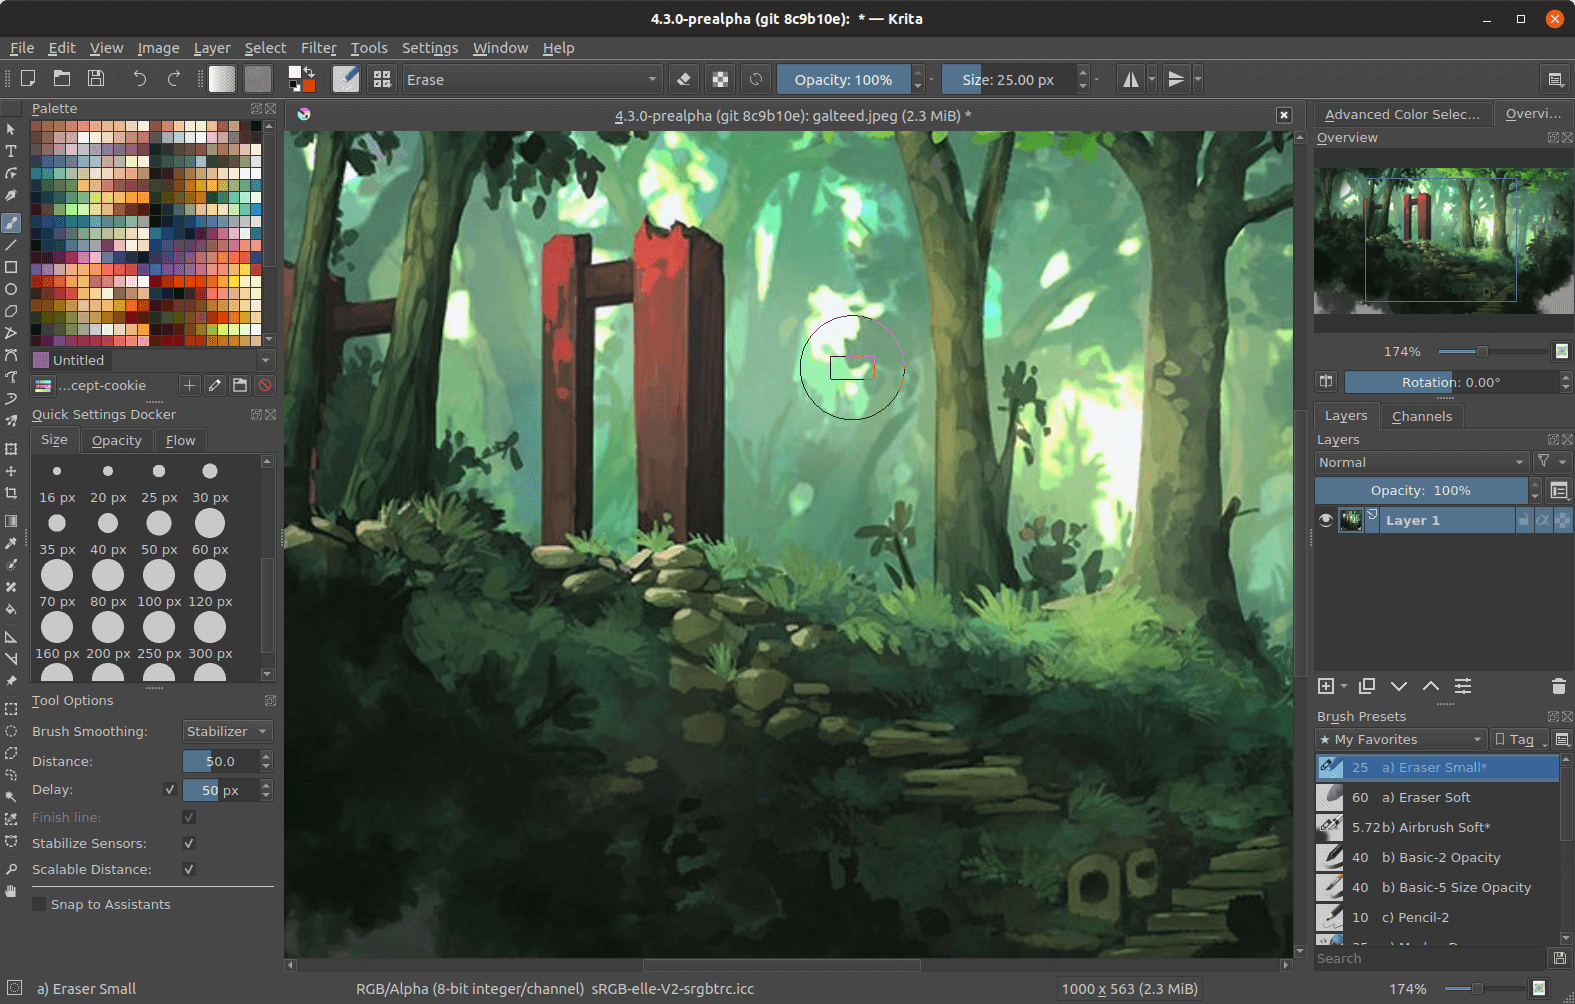
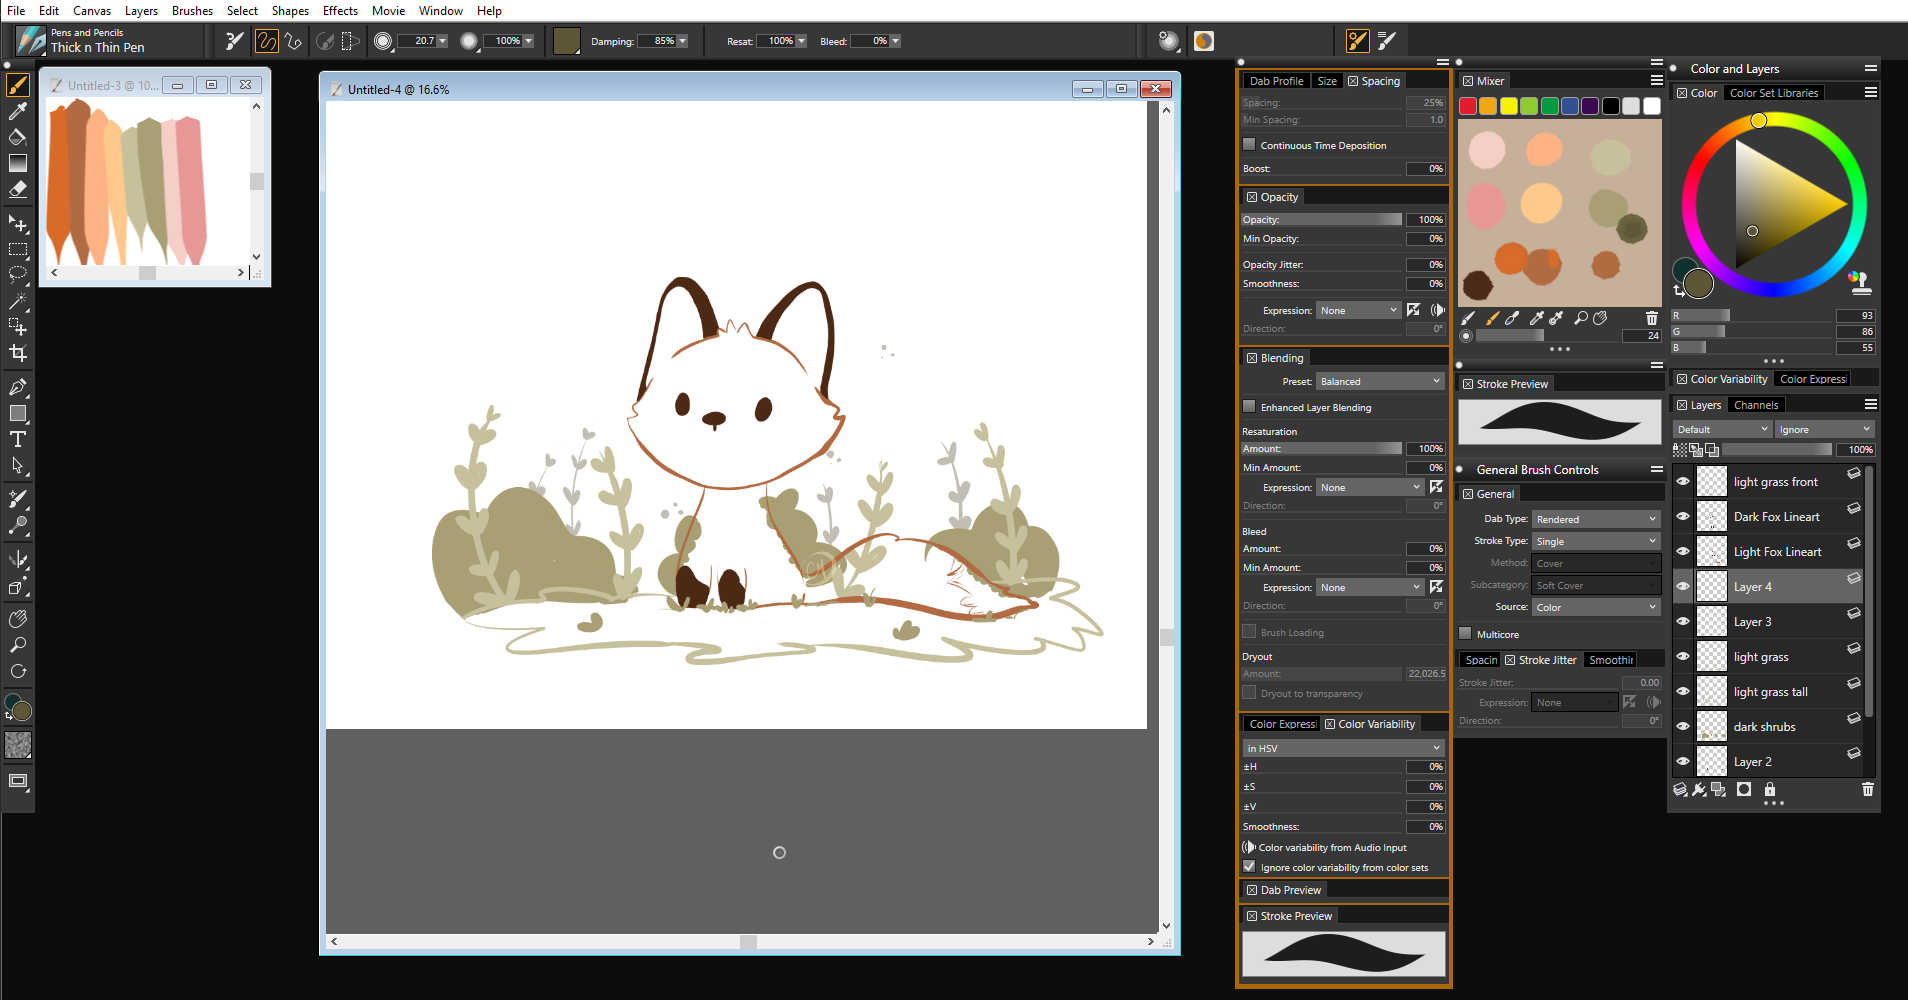
Apps like Krita, Fire Alpaca, and Clip Studio Paint are considerably more accessible than Adobe or even Corel products, while offering nearly all of the same functionality. In some cases they may even be better due to their robust communities creating custom actions and brushes. This is also true if you're creating 3D models, as apps like Blender and Zbrush are readily available regardless of your budget.
Learning the fundamentals
Alright, now you can actually get down to learning the basics of creating digital art. Regardless of what software you choose, you're going to want to do a few things to acclimate to the medium. Opening a blank canvas and doing something as simple as repeatedly drawing circles, carefully trying to keep them the same size and distance apart, can help you learn to control the stylus and your pen's pressure sensitivity. As previously mentioned, the risk of wasting materials is gone with digital art, so you can freely experiment with colors, blend modes, and brush variants without causing irreparable damage to your image.
Layers are what make this kind of experimentation possible, and they're a lifesaving fundamental for digital art. Nobody wants to spend five hours working on a digital painting only to try to erase a small mistake and have the entire image ruined. Placing various elements of your image, like the line art and individual color blocks, on different layers lets you edit and adjust your image in a variety of ways while still being able to revert it back and not negatively affecting other areas. Once you master layers, you can move on to more complicated fundamentals like learning to shade your digital art.
The most important part of it all, though, is to experiment. While the fundamentals are important, art is all about creatively expressing your own self. Pick up a stylus and have fun.
Start creating
XP-Pen Artist 24 Pro
$630 at XP-Pen $900 at Amazon $900 at Newegg
A suitable alternative
XP-Pen's Artist 24 Pro pen display is an excellent alternative to more expensive devices, providing a professional level of quality without breaking the bank.
via https://AiUpNow.com November 19, 2021 at 06:03PM by Cole Martin, Khareem Sudlow,
